Personalizing Column Placement and Visibility
Customizing Information Display in Entries, Registries, Documents, Feedback, Google Reviews, and Pre-Registries Tabs
- Access the Advanced Entry Portal:
Start by visiting the following URL: https://legacy.advancedentry.com. Once there, log in using your credentials to gain access to the portal.
- Select the Desired Tab:
From the available tabs, choose the one you intend to modify. Whether it's Entries, Registries, Documents, Feedback, Google Reviews, and Pre-Registries.
- Navigate to the "Fields" button:
Within the selected tab, locate and click on the "Fields" option. This step will enable you to manage the visibility and order of the columns in the table.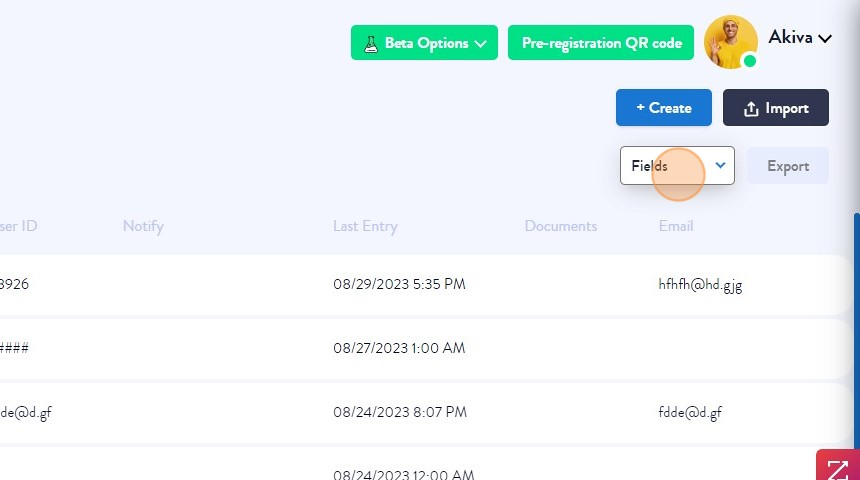
- Choose Columns to Display:
Identify the specific fields that you want to appear within the table. Adjacent to each field, you'll find a checkbox—select this checkbox for each field you wish to include in the table view.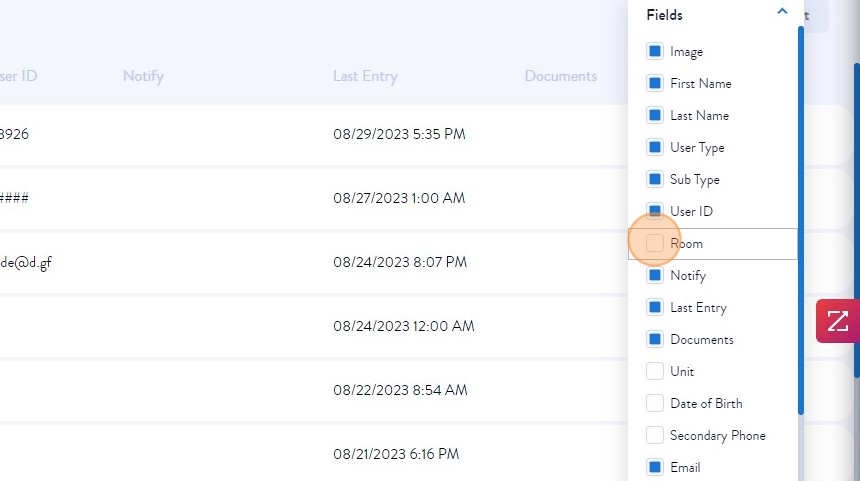
- Reposition Columns Order:
To rearrange the order of columns, take advantage of the intuitive drag-and-drop functionality. Click and hold the desired field, then effortlessly drag it to the preferred location within the table. This capability ensures that the most crucial data is readily accessible.
- Automatic Save for Future Sessions:
Once you've customized the column positions and order, rest assured that your selections will be automatically saved for your next login session. This feature eliminates the need to repeat the customization process each time you access the portal, saving you valuable time and effort.
By following these steps, you can easily customize the way information is displayed in the tabs to suit your specific needs and preferences. This will result in a personalized and efficient user experience that empowers you to maximize the value of your data.